NoraGateway v0.1.4a以降で使用可能な簡易ダッシュボードのインストール方法
このチュートリアルは、既設のNoraGatewayが動作していることを前提に説明します
サンプル:
kdk.ddns.net JARL DSTARネットワーク向け自動応答NoraGatewayダッシュボード:http://autoreply.k-dk.net:8080/
【自分専用ダッシュボードのインストール方法(@Windows/Linux)】
ローカルPCで動作するNoraGatewayに対して、同じくローカルPCのデスクトップを使って、ダッシュボードを表示する方法
1. NoraGateway.xmlを編集
NoraGateway.xml最後尾付近の<WebRemoteControlService内enableをtrueに変更します
	<!--
		Webダッシュボードサービス(v0.1.4a以降)
		※有効にする場合には、enable="true"として下さい


	-->
	<WebRemoteControlService enable="true" port="3000" context="/nora" />

</NoraGateway>
2. NoraGatewayインストールフォルダのdashboard/index.htmlをブラウザで開きます
NoraGatewayを再起動し、NoraGateway/dashboard/index.htmlをIE(Internet Explorer)以外のブラウザ(Google chrome/Firefox等)で開くと、ダッシュボードが表示されます
【共有ダッシュボードのインストール方法(@Linux)】
1. NoraGateway.xmlを編集
NoraGateway.xml最後尾付近の<WebRemoteControlService内enableをtrueに変更します
	<!--
		Webダッシュボードサービス(v0.1.4a以降)
		※有効にする場合には、enable="true"として下さい


	-->
	<WebRemoteControlService enable="true" port="3000" context="/nora" />

</NoraGateway>
2. /opt/NoraGateway/dashboard/js/config.jsを編集
serverAddressに、ダッシュボードを表示するクライアントデバイスから見たときのIPアドレスを設定します
※基本的にNoraGateway v0.1.5a-PR9~は設定不要ですが、何らかの理由によりdashboardを他のサーバーに置いた場合などは設定が必要です
const serverAddress = "192.168.???.???";

const context = "/nora";

const lastHeardLimit = 20;
3. nginxのインストール
sudo apt install nginx
と入力し、nginxをインストールします
4. /etc/nginx/sites-available/defaultを編集
sudo vi /etc/nginx/sites-available/default
と入力し、下記の通りdefaultファイルを編集します
- server {の直上
map $http_upgrade $connection_upgrade { default upgrade; '' close; } server { - location / { ........ }の直下
location / { # First attempt to serve request as file, then # as directory, then fall back to displaying a 404. try_files $uri $uri/ =404; } location /noradash/ { alias /opt/NoraGateway/dashboard/; index index.html; } location /nora/ { proxy_pass http://localhost:3000/nora/; proxy_http_version 1.1; proxy_set_header Upgrade $http_upgrade; proxy_set_header Connection $connection_upgrade; } - 上記2項目を追加・編集すると下記のようになります
##
# You should look at the following URL's in order to grasp a solid understanding
# of Nginx configuration files in order to fully unleash the power of Nginx.
# https://www.nginx.com/resources/wiki/start/
# https://www.nginx.com/resources/wiki/start/topics/tutorials/config_pitfalls/
# https://wiki.debian.org/Nginx/DirectoryStructure
#
# In most cases, administrators will remove this file from sites-enabled/ and
# leave it as reference inside of sites-available where it will continue to be
# updated by the nginx packaging team.
#
# This file will automatically load configuration files provided by other
# applications, such as Drupal or Wordpress. These applications will be made
# available underneath a path with that package name, such as /drupal8.
#
# Please see /usr/share/doc/nginx-doc/examples/ for more detailed examples.
##

# Default server configuration
#

map $http_upgrade $connection_upgrade {
    default upgrade;
    ''      close;
}

server {
	listen 80 default_server;
	listen [::]:80 default_server;

	# SSL configuration
	#
	# listen 443 ssl default_server;
	# listen [::]:443 ssl default_server;
	#
	# Note: You should disable gzip for SSL traffic.
	# See: https://bugs.debian.org/773332
	#
	# Read up on ssl_ciphers to ensure a secure configuration.
	# See: https://bugs.debian.org/765782
	#
	# Self signed certs generated by the ssl-cert package
	# Don't use them in a production server!
	#
	# include snippets/snakeoil.conf;

	root /var/www/html;

	# Add index.php to the list if you are using PHP
	index index.html index.htm index.nginx-debian.html;

	server_name _;

	location / {
		# First attempt to serve request as file, then
		# as directory, then fall back to displaying a 404.
		try_files $uri $uri/ =404;
	}

	location /noradash/ {
		alias /opt/NoraGateway/dashboard/;
		index index.html;
	}

        location /nora/ {
            proxy_pass http://localhost:3000/nora/;
            proxy_http_version 1.1;
            proxy_set_header Upgrade $http_upgrade;
            proxy_set_header Connection $connection_upgrade;
        }

	# pass PHP scripts to FastCGI server
	#
	#location ~ \.php$ {
	#	include snippets/fastcgi-php.conf;
	#
	#	# With php-fpm (or other unix sockets):
	#	fastcgi_pass unix:/run/php/php7.3-fpm.sock;
	#	# With php-cgi (or other tcp sockets):
	#	fastcgi_pass 127.0.0.1:9000;
	#}

	# deny access to .htaccess files, if Apache's document root
	# concurs with nginx's one
	#
	#location ~ /\.ht {
	#	deny all;
	#}
}


# Virtual Host configuration for example.com
#
# You can move that to a different file under sites-available/ and symlink that
# to sites-enabled/ to enable it.
#
#server {
#	listen 80;
#	listen [::]:80;
#
#	server_name example.com;
#
#	root /var/www/example.com;
#	index index.html;
#
#	location / {
#		try_files $uri $uri/ =404;
#	}
#}
5. nginxのリロード
sudo systemctl reload nginx.service
と入力し、設定変更を反映します
6. NoraGatewayの起動
自動起動を設定している場合には、再起動を行って下さい
自動起動を設定していない場合には、/opt/NoraGateway/start.shを実行して下さい
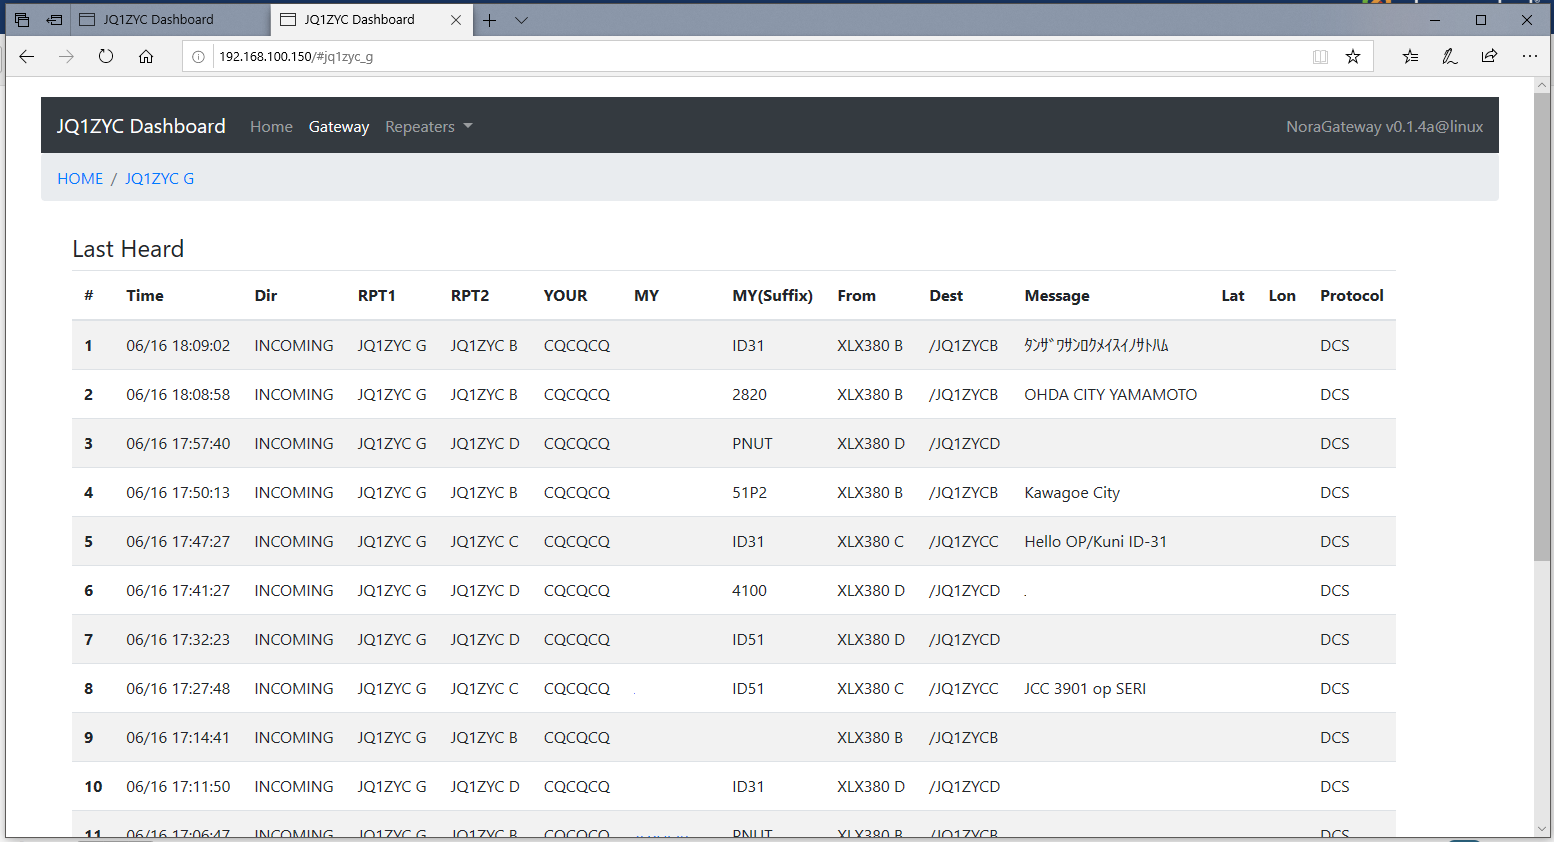
7. ダッシュボードにアクセスを試行
外部のデバイスなどから、
http://nginxが動作しているデバイスのIPアドレス/noradash/
にアクセスを行い、正常に動作しているか確認を行います